
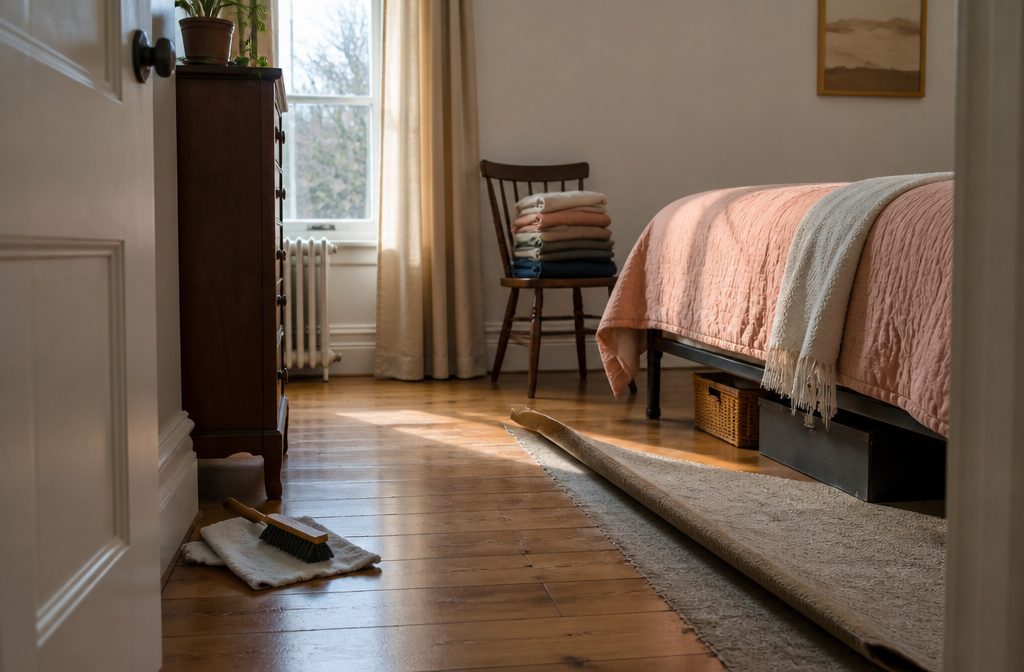
A bedroom deep clean hits every surface that daily tidying skips: the dust behind furniture, grime on baseboards, and buildup under the bed.
Most people finish the full sequence in three to five hours, depending on room size and how much clutter has to be sorted first.
The timeline shifts when the room is already very messy.
In that case, you start with trash, dishes, and laundry before anything else, clearing enough floor to walk safely and giving yourself a legible space to work from when you come back to the rest.
Declutter and Clear a Work Area
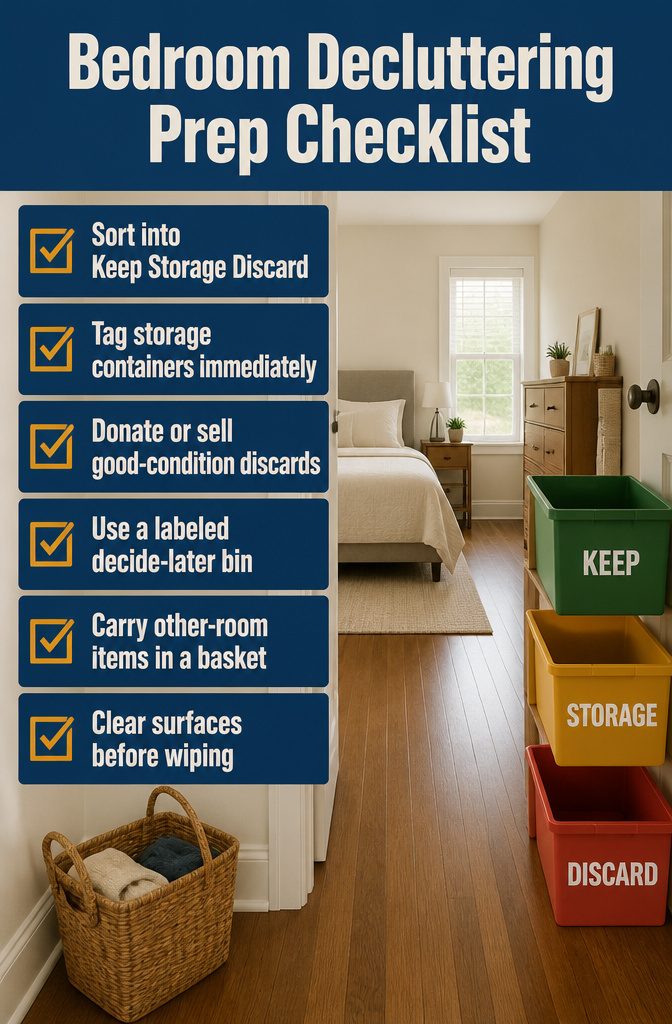
Start by sorting items into three labeled boxes or bins: Keep, Storage, and Discard. The method stops clutter from bouncing between surfaces while you decide.
- Keep items stay in the room where they belong. Leave them out for now—you’ll clean them before putting them back.
- Storage items need containers and labels immediately. Without proper tagging, stored items end up as disorganized as they started.
- Discard items split two ways: donate or sell anything still in good condition, trash the rest.
- Use a separate decide-later bin for items you can’t sort quickly. Label it and move on rather than stalling the cleaning session.
- Deliver items that belong in other rooms after finishing the bedroom. A basket at the door prevents repeated trips from interrupting the sequence.
Remove anything that doesn’t belong in the room at all—books piled on the floor, dishes left overnight, tools from another project.
Clear nightstands, dressers, desks, and shelves before you start wiping surfaces. A clean path matters more than perfect organization.
Gather Laundry and Strip the Bed

Start with sheets, pillowcases, and any blankets or throws that need washing, following the care label for temperature and cycle. Keep special-care items separate—dry-clean-only decorative covers or anything with unusual laundering instructions goes in its own pile.
While regular bedding is straightforward, a few things come around less often:
- Pillows should be washed two to three times per year. Toss tennis balls in the dryer to keep them from clumping.
- Curtains and decorative pillow covers are easy to forget. If they’ve been up for months without attention, now is the time.
- Mattress covers, weighted blankets, and electric blankets all have different requirements from standard linens—check the tag before assuming they can run through the same cycle.
I always confirm manufacturer instructions before tackling anything that sits outside the normal rotation. A ruined duvet costs more than the five minutes it takes to double-check.
Clean the Closet and Storage

Pull everything out of the closet if you can move it safely, then wipe shelves from top to bottom so dust falls naturally to the next surface.
Wire shelves take hot soapy water and a brush, plus an old toothbrush for corners. Laminate shelves need only a little hot soapy water with a non-scrub sponge, then a damp cloth and a final dry wipe.
Wooden shelves require very little water: spray white vinegar onto a microfiber cloth until slightly damp and wipe the surface clean.
While everything is out, sort what stays and what goes:
- Group similar items together when you put clothing back: long sleeves with long sleeves, button-downs in one section, shoes by style.
- Turn all hangers backward at the start of the year. When you wear and wash something, rehang it the right way. At year’s end, anything still backward goes to donation.
- Rotate seasonal clothing out of the way so daily choices stay clear.
- Refold anything that has turned into a pile, and use drawer dividers to hold the order.
Dust High to Low

Dust ceiling corners, fans, and fixtures first, then work down to frames, shelves, furniture, and baseboards. Let dust fall rather than land on surfaces you already cleaned.
Before you start, turn off ceiling fans and use a stable step stool only when you can reach comfortably. An extendable duster gets into corners where the walls meet the ceiling without overreaching.
Work top to bottom:
- Ceiling corners, fan blades, light fixtures, curtain rods
- Upper shelves, picture frames, door and window frames
- TV, lamps, nightstands, dressers
- Baseboards, including behind furniture you can move
A dry or slightly damp microfiber cloth handles most surfaces.
For electronics, never spray liquid directly on the device. Follow manufacturer instructions and apply any permitted product to the cloth.
Pull the bed away from the wall if you can. Dust builds up behind headboards and nightstands, especially if you have pets.
Clean Furniture, Surfaces, and Glass

Wipe furniture and surfaces with a product made for the material. Here’s what to clean:
- Read the label first. Check whether the cleaner needs to be diluted, how it should be applied, whether you need to rinse it, and what ventilation or gloves the product requires. Never assume vinegar, baking soda, bleach, or an all-purpose spray works on every finish.
- Test unfamiliar products in a hidden spot. Painted, sealed, unsealed, stone, wood, laminate, metal, acrylic, and upholstered surfaces react differently to cleaners.
- Do not use chemicals on marble. Acids and other ingredients damage it. A spray bottle of 70% rubbing alcohol cleans marble counters and floors quickly without leaving residue.
- Dust window frames, knobs, and drawer pulls before you wipe them down. Small hardware collects grime that dulls the finish.
- Clean mirrors and windows after dusting the frame and sill. Use a glass cleaner allowed by the manufacturer, apply a modest amount, and wipe with a clean, lint-free cloth. Not every vinegar-and-water recipe is safe for frames, films, or specialty finishes.
- Clean first, then disinfect if needed. Cleaning with soap or detergent is generally enough for routine surfaces. If someone is sick or at higher risk, disinfect after cleaning with an EPA-registered product, follow the contact time on the label, and never mix products.
Clean the Bed and Soft Furnishings
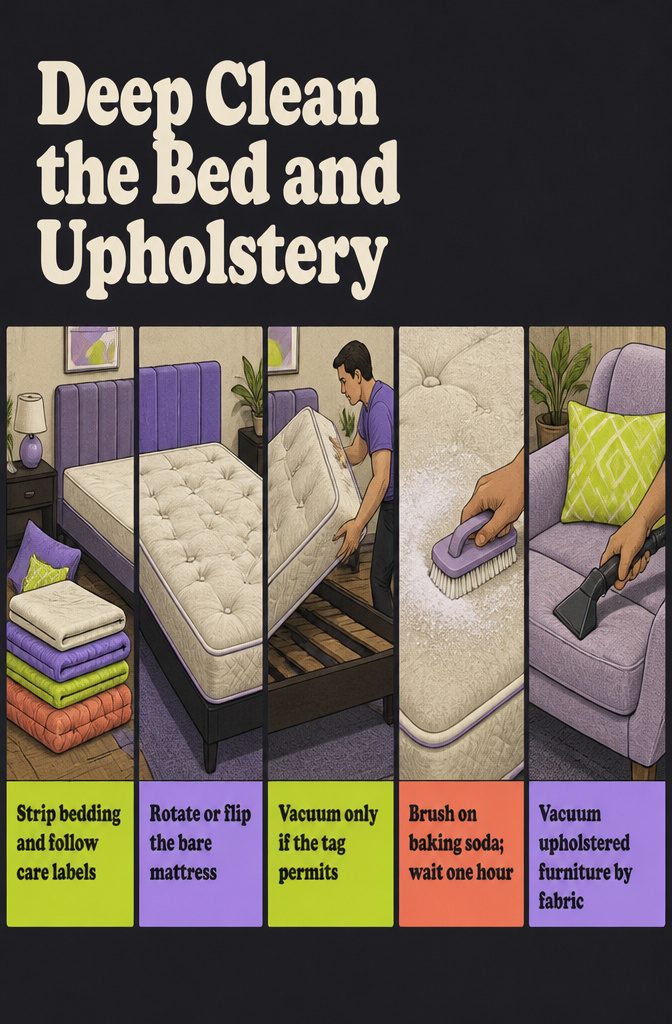
Strip the bedding and wash everything according to its care label. Pillows, mattress covers, weighted blankets, and decorative items often have different instructions from standard sheets, so check each tag for the right water temperature and cycle.
Once the mattress is bare, here’s what to tackle:
- Flip the mattress or rotate a pillow-top to prevent grooves from forming in the same spot. This step alone adds months to the surface.
- Vacuum the mattress only if the manufacturer permits it. Use the upholstery attachment and work in overlapping passes. Skip this step if the care tag says otherwise.
- Sprinkle baking soda on the mattress, rub it in with a scrub brush, and wait at least one hour before vacuuming it up to pull out lingering odors. This method works for many mattresses, but not all makers allow powder treatments, so verify first.
- For stains, some sources recommend foam shaving cream left for 15 minutes, then wiped off with a cloth dipped in a half-water, half-vinegar solution. Again, this is not universal and depends on what your mattress maker permits.
- Vacuum upholstered chairs, loveseats, or cushions with the upholstery tool. For deeper cleaning, match the method to the fabric type. There are six to eight commonly used upholstery fabrics, and each one responds differently to steam, water, or solvent cleaners. The care tag will tell you which track to follow.
Clean the Floor Last
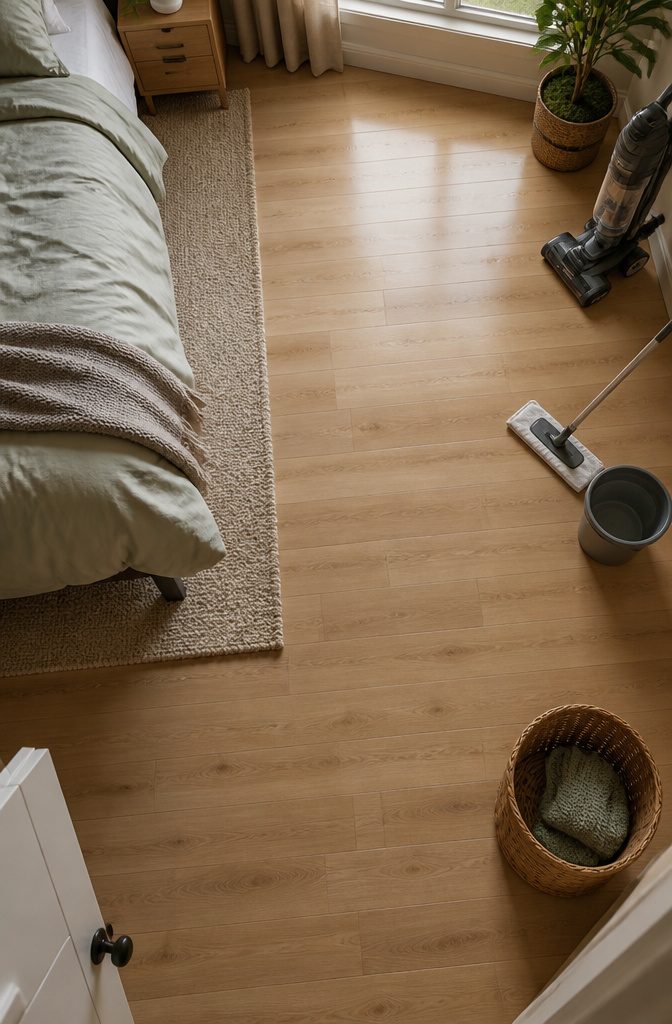
The floor comes after dusting, wiping surfaces, and vacuuming upholstery, so that anything that fell during earlier steps gets picked up in one pass. Before you start:
- Pick up cords, small objects, loose carpet edges, and anything that could damage the vacuum or trip you.
- Vacuum carpet and rugs slowly enough to collect visible debris. Adjust the setting or attachment for the pile height, and spot-treat stains only with methods approved for that carpet.
- Sweep or vacuum hard floors first, then damp-mop with a product safe for that surface. Avoid excess water on wood, laminate, and seams.
- Move furniture only if you can do it safely without dragging, tipping, or straining yourself. Use help for heavy pieces.
If you mopped, open windows or turn on the heater to speed drying.
Put the Room Back Together
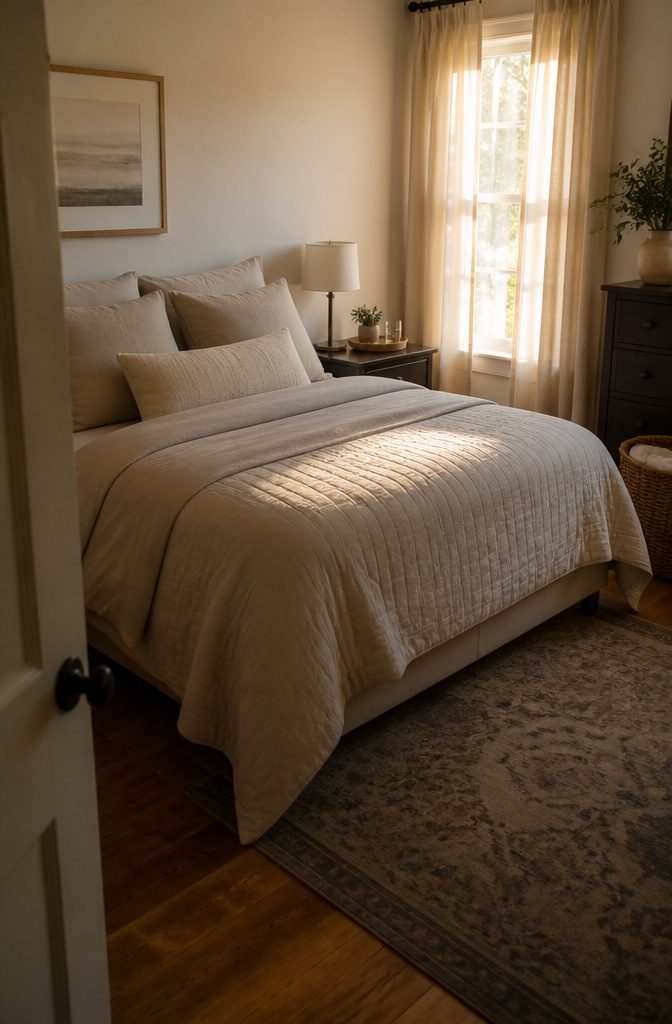
Once everything is clean and dry, it’s time to close the job.
- Remake the bed with fully dry bedding. If you washed sheets and blankets, make sure they came out of the dryer completely before you put them back on. Damp bedding trapped under a comforter mildews fast.
- Rehang curtains. If you ironed them, hang them now. If you have a steamer, hang first and steam in place.
- Return furniture to its spots and put items back where they belong. Nightstand, dresser, any pieces you moved for floor access.
- Empty your put-away-elsewhere basket. Walk those items to the rooms they actually belong in, and store cleaning products in their original containers with labels intact, out of reach of kids and pets.
How Often to Deep Clean a Bedroom

Some recommend at least once a year, often timed to spring cleaning or another seasonal marker, with the argument that more frequent deep cleans make each round easier and give you a chance to reassess what you own.
Others suggest once or twice every quarter, which means you’re hitting the bedroom thoroughly three to eight times a year depending on how strictly you follow it.
A third approach skips the calendar entirely and tells you to watch the room itself: visible dust on baseboards, grime on light switches, or a noticeable buildup under the bed becomes the trigger, not a date on the schedule.
I find the visible-soil method works better in practice for renters and first-home owners, because occupancy, pets, open windows, and how much clutter accumulates all change how fast a bedroom gets dirty.
A rigid timeline can push you to deep clean when the room doesn’t need it or let things slide when it does.
What to Do When the Room Is Very Messy

Start with ordinary trash—anything that’s clearly garbage goes into a bag first.
That single pass makes an overwhelming room instantly more legible: you’re no longer working around wrappers, empty bottles, and used tissues while trying to decide what to keep.
Once trash is out, gather all dishes and take them to the kitchen, then collect dirty laundry into a basket or bag and move it out of the room.
The goal at this stage is clearing enough floor to walk safely, not organizing what’s left.
If time is short, stop after trash, dishes, laundry, and any fresh spills that could stain. Clean the main open floor area if you can manage it, then leave the rest for later.
A fully cleared walking path and empty surfaces give you room to work when you come back, and the visible progress makes the second session easier to start.
Owners on Reddit consistently mention that getting trash and dirty items out first changes how the whole room feels, even before dusting or vacuuming begins.
Frequently Asked Questions
What is the first thing I should do to clean my room?
Start by sorting items into three labeled bins: Keep, Storage, and Discard.
This prevents clutter from moving between surfaces while you decide where things belong. Clearing a path comes before dusting or wiping anything down.
Where should I start if my room is very messy?
Begin with ordinary trash, then gather all dishes and take them to the kitchen, followed by dirty laundry into a basket.
Once those three categories are out, you have a clear walking path and can see what actually needs organizing or cleaning.
What is typically included in a deep clean?
A bedroom deep clean covers dusting from ceiling to baseboards, cleaning all furniture and glass surfaces, vacuuming or washing the mattress, laundering all bedding including pillows and covers, vacuuming upholstery, and cleaning floors last.
It goes beyond daily tidying to address buildup in corners, behind furniture, and on surfaces you don’t wipe weekly.
How often should I clean my bedroom?
Deep clean when you see visible dust on baseboards, grime on light switches, or buildup under the bed, rather than following a rigid schedule.
How fast a bedroom gets dirty depends on occupancy, pets, open windows, and clutter, so the room itself tells you when it needs attention.
In what order should you deep clean a house?
Work from top to bottom so dust falls to surfaces you have not cleaned yet, and always clean floors last. This applies to individual rooms and to the order of tasks within each space.
Should I disinfect my bedroom every day?
No. Routine cleaning with soap or detergent handles most household surfaces, and disinfection is needed mainly when someone is sick or at higher risk.
If you do disinfect, clean the surface first, then follow the product label for contact time and safety.
What if I do not have time for a full room cleaning?
Clear trash, dishes, and laundry first, then clean the main open floor area and any fresh spills that could stain.
A fully cleared path and empty surfaces make the next session less overwhelming, and visible progress changes how the room feels even before you finish.