

A deep clean takes 2 to 3 hours and leaves burner caps clear, grates scrubbed, and the cooktop free of baked-on grease.
Most people skip the burner ports, the small openings in gas burner heads that clog with residue and throw off flame distribution. Blocked ports produce a yellow flame instead of steady blue, waste fuel, and make temperature control harder.
1. Turn Off and Let Everything Cool

Turn off all burners and wait at least an hour before touching anything. The grates need that time, the burner caps need it, and if you have electric coils, those hold heat longer than the surface suggests.
I test with the back of my hand an inch above the cooktop; if I still feel warmth, I wait another twenty minutes.
Gas stoves with pilot lights need the gas valve shut off before you start pulling parts apart.
Not every model puts the valve where you can reach it, but if yours does, turn it now. This step protects the ignition electrode, a small ceramic piece that sparks the burner and breaks easily under pressure or when wet.
If your stove has a control lock, use it. That feature exists to prevent accidental ignition mid-clean, and I’ve seen burners fire while someone was elbow-deep in scrubbing simply because a wet rag brushed a knob.
2. Remove Grates, Caps, Coils and Drip Pans

Start by lifting off all removable parts before you touch anything else—gas grates and burner caps come right off, burner heads pull away if they aren’t fixed to the stovetop, and electric coils slide straight out once the stove has cooled completely.
The drip pans underneath those coils lift out next. Check your manual before you run any of these through the dishwasher; some manufacturers say yes, others warn against it.
Removing everything gives you clean access to the stovetop surface itself, where grease pools and hardens out of sight.
Gas burner heads are sometimes attached permanently, which means you work around them instead of cleaning them separately—annoying, but not common.
Electric coils need to cool fully before you pull them; grab the coil, lift slightly, and pull straight out from the connector. Don’t yank sideways or you risk bending the prongs.
3. Soak and Scrub Gas Burner Parts

Soak and Scrub Gas Burner Parts
- Fill a sink with hot, soapy water and submerge the burner heads and caps for 30 minutes. This initial soak loosens surface grime before you move to anything stronger.
- Drain the sink, then apply a solution of half distilled white vinegar and half water. Let it sit for 20 minutes so the acid can break down baked-on residue without heavy chemicals.
- Mix a paste of equal parts baking soda and warm water for stubborn spots. Spread it lightly over the stain, cover with a hot, damp towel, and leave it for at least 15 minutes. The heat and moisture do most of the work.
- Scrub the grates and caps with a toothbrush or small brush, getting into grooves where grease hides. For a stronger homemade cleaner, combine one part vinegar, two parts baking soda, and a teaspoon of dish soap.
- Use a paperclip to clear clogged burner ports. Blocked holes throw off the flame pattern and waste gas.
- For parts that won’t budge, soak them in Krud Kutter for 25 minutes, then scrub and rinse.
4. Clean Electric Coils and Drip Pans
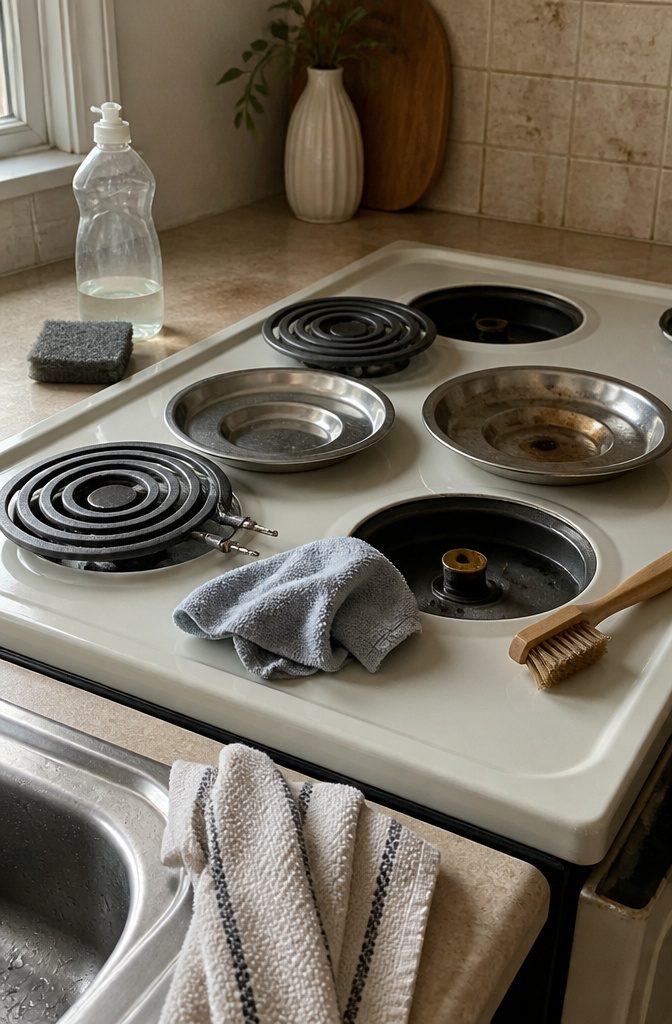
Electric coils need a light touch.
Wipe them with a damp cloth once they’ve cooled, but keep water away from the coil element itself. Moisture in the heating element shortens its life and can cause corrosion where you won’t see it until performance drops.
I focus on the metal prongs and the receptacle where the coil plugs into the stovetop, since grease collects there and interferes with the connection. A dry brush gets into the socket better than a cloth.
Drip pans sit under the coils and catch spills, but they’re also where burned-on stains become permanent if you wait too long. Pull them out and wash by hand with dish soap and a non-scratch scrubber.
If the staining is heavy and scrubbing isn’t working, disposable liners fit over each drip pan and take about ten seconds to swap out when they get dirty.
That’s the shortcut I use when the pans are past saving and I don’t want to spend twenty minutes scrubbing something that will look half-clean at best.
5. Wipe Down the Cooktop Surface
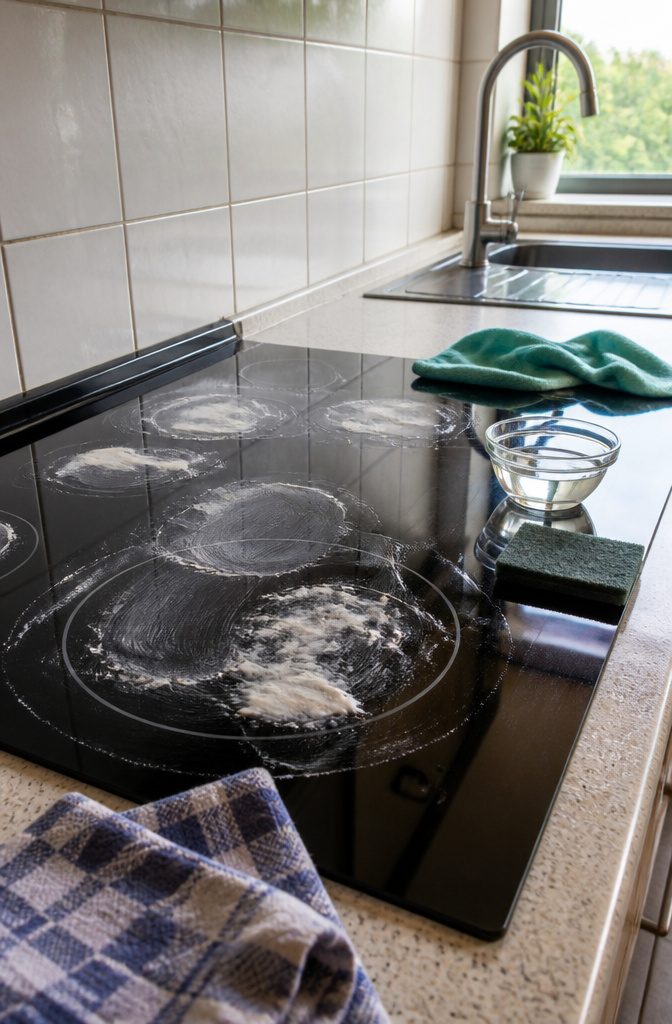
Clear away loose crumbs and spills first so you’re not pushing them around. Then wipe the surface with a cleaner matched to your cooktop material.
For a glass or ceramic top, I dampen a cloth with vinegar to cut through grease, spread a baking-soda paste over stains, and let it sit for 20 minutes before scrubbing with a nylon pad.
A damp cloth lifts the residue, and a dry microfiber buff finishes it.
Soap and hot water from the tap—around 110 degrees—work just as well and sidestep compatibility worries.
Use the soft side of a sponge or a microfiber cloth. Dish soap carries the same surfactants as bottled cleaners but tends to be gentler on glass, ceramic, enamel and stainless without checking labels first.
When you’re uncertain what your stovetop can take, pull the manual or search the model number online before applying anything stronger.
6. Scrape Stubborn Messes Without Scratching

A plastic scraper or silicone bowl scraper clears dried-on food from glass and induction surfaces without leaving scratches.
The glass that makes these cooktops easy to wipe also picks up damage from anything harder than the coating, so metal tools are out.
I keep a silicone scraper near the stove because it bends enough to follow the surface and firm enough to get under baked sugar or stuck rice.
Gas stovetops have more tolerance. Owners on Reddit mention carefully using a new razor blade to lift stubborn messes from enamel grates and the stovetop itself, though even there the caution is real: one slip and the blade digs in.
If you go that route, hold the blade flat against the surface, never at an angle.
For anything baked on hard, a fifteen-minute soak does more than scraping.
Make a paste of equal parts baking soda and warm water, cover the spot, then lay a hot damp towel over it. The heat and moisture soften what scrubbing alone won’t move, and baking soda lifts it without chemicals.
7. Dry and Put Everything Back
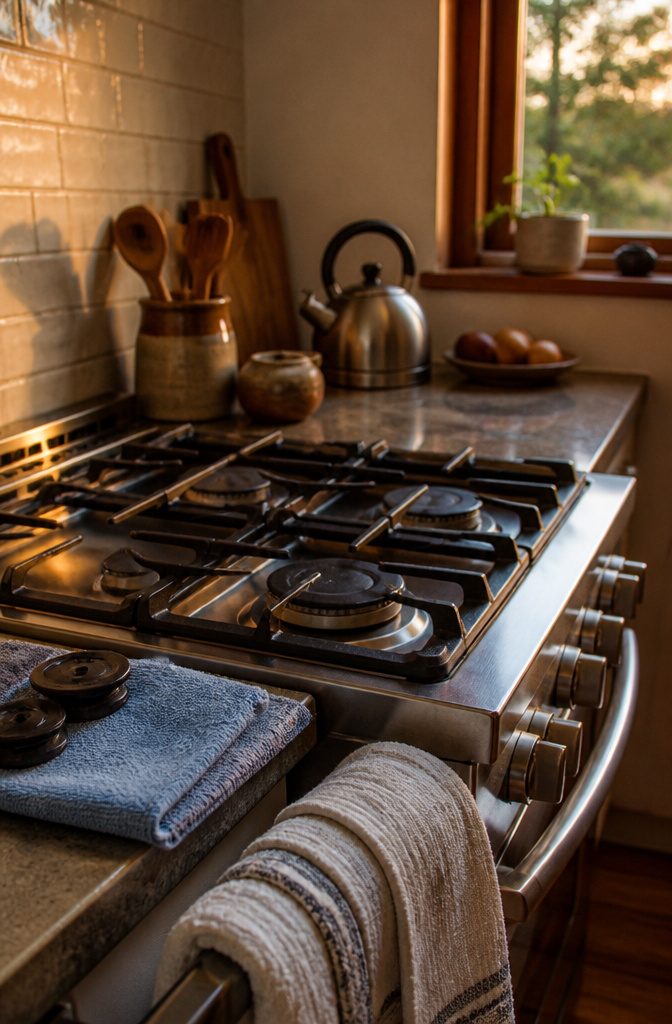
Dry everything completely before you put the stove back together. Water left on burner caps or in the receptacles of electric coils invites rust on gas parts and corroded connections on electric ones.
I wipe every piece with a dry microfiber cloth after the final rinse, then let grates and caps air another ten minutes on a towel while I finish the cooktop.
For a gas stove, replace the burner caps first, following the manual if the sizes aren’t obvious, then set the grates on top.
Turn each burner on briefly to check that the flame pattern is even and centered. A cap seated wrong will produce a yellow flame or one that lifts off the burner, and you’ll know immediately.
For an electric stove, wipe the prongs on each coil and the receptacle itself before you reconnect them. Any moisture or residue there cuts power or causes arcing.
A daily wipe-down with a damp cloth after cooking, followed by a dry pass with microfiber, keeps gas burners from rusting between deep cleans.
Wipe After Every Use to Prevent Buildup

Wipe the stovetop after each use while the surface is still warm and grease hasn’t hardened.
I cannot stress this enough: the longer splatters sit, the more they dry into something you will need to scrape instead of simply wipe away.
A damp cloth and a drop of dish soap takes fifteen seconds after dinner. Wait three days and you are looking at a plastic scraper, baking soda paste, and twenty minutes you did not budget for.
Daily wiping is not about perfection.
It cuts down how often a full deep clean becomes necessary. Grease and debris allowed to harden over time are the main reason deep cleaning turns into a project instead of routine maintenance.
One quick pass with a cloth dampened in vinegar loosens fresh buildup before it calcifies. If you cook daily, this habit matters more than any cleaning product you buy later.
What Blocked Gas Flow Does to Burner Performance

Blocked gas flow keeps burner heads from burning efficiently, and the first sign is usually an irregular flame pattern or a yellow flame instead of steady blue.
When the small port openings in the burner head get clogged with grease or food residue, gas can’t distribute evenly across the surface, so some ports fire too weakly while others compensate.
That uneven burn wastes fuel and makes temperature control harder.
A paperclip clears clogged ports quickly once you’ve soaked and scrubbed the burner caps and heads.
Push the straightened end through each opening to knock out any stubborn buildup that soap and water left behind. Once the ports are open, flame distribution returns to normal and the burner runs the way it should.
I check for yellow flames before I pull everything apart, because it tells me whether the problem is dirt or something deeper in the gas line.
Clean Behind the Range Twice a Year

I pull the range out twice a year unless something spills back there and needs attention sooner.
The frequency goes up if you cook daily or if grease splatters. When you slide it out, vacuum dust and crumbs first, then wipe the floor, appliance sides, and the wall behind it with a degreasing all-purpose cleaner.
Let everything dry before you plug the range back in and push it into place.
Bugs, rodents, and odd smells are telltale signs there’s a problem—especially when the rest of the kitchen seems clean.
That means checking the bottom drawer too. Food, pests, and small objects all turn up back there, and anything combustible sitting near a heat source that can reach over 500°F is a fire risk.
Between 2017 and 2021, 10 percent of home cooking fires involved a heat source too close to combustibles.
When you push the range back, check that the power cord is not pinched or twisted.
If you have a gas range, make sure the flexible gas line is not kinked. Both problems are avoidable if you move it back slowly and look before the appliance is flush against the wall.
Frequently Asked Questions
Does white vinegar and baking soda clean the stove top?
Yes.
Apply vinegar to the surface, sprinkle baking soda over stains, and let it sit for 15–20 minutes before wiping. The acid in vinegar breaks down grease while baking soda lifts residue without scratching glass, ceramic, or enamel surfaces.
How do you clean cast iron stove grates?
Soak cast iron grates in hot, soapy water for 30 minutes, then scrub with a mixture of 1 part vinegar, 2 parts baking soda, and a teaspoon of dish soap.
Use a toothbrush to get into grooves. For heavy buildup, soak in Krud Kutter for 25 minutes before scrubbing and rinsing.
How do I make my glass top stove look new again?
Wipe the surface with vinegar to cut grease, spread a baking soda paste over stains, and let it sit for 20 minutes.
Scrub with a nylon pad or soft cloth, wipe away residue with a damp cloth, and finish with a dry microfiber buff. Use a plastic scraper on dried-on food to avoid scratches.