
Small kitchen organization ranges from quick drawer dividers to full pantry overhauls, and the right fit depends on which storage problems cost you the most time.
The setup stops working when you store items far from where you actually use them, when vertical space sits empty while counters stay packed, or when you keep things you have not touched in a year.
A Lazy Susan in a deep corner cabinet can bring spices and baking supplies to the front without reaching past bottles you never need.
1. Declutter and Keep Only What Suits Actual Use
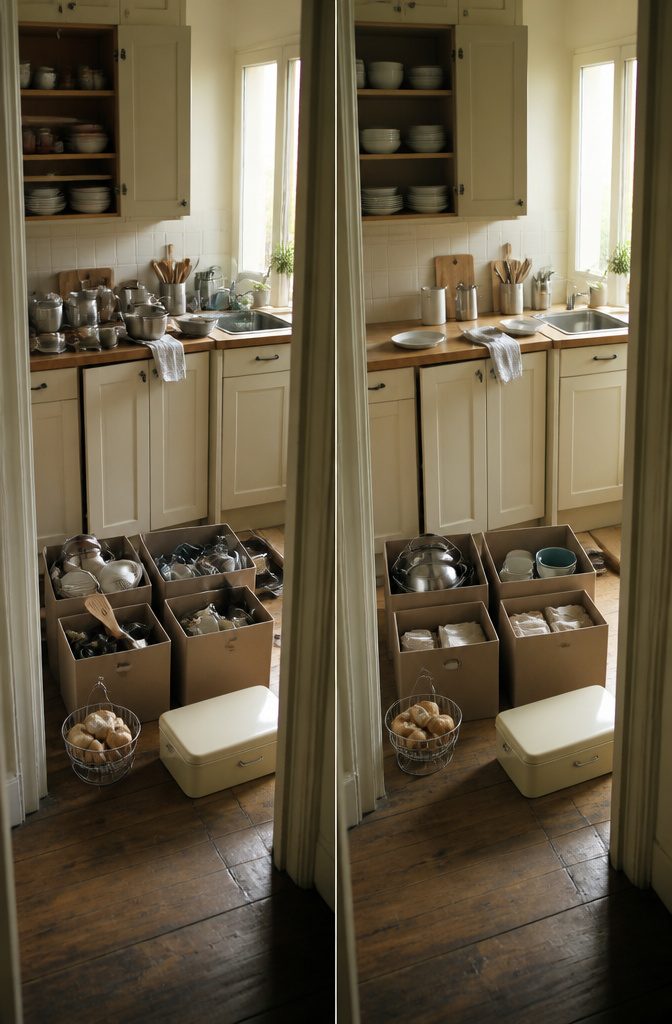
Remove what you do not use before you decide how to organize anything.
The kitchen only gets harder to organize when you are working around three trivets you never pull out, a set of dishes that do not fit the household, or appliances that have not been plugged in all year.
I clear the counters and cabinets first, then decide where the remaining items belong, and the storage problems shrink or disappear when the clutter does.
Go through cookware, utensils, and dishes first. If you have not used something in the past year, it probably does not belong in a small kitchen where every drawer and cabinet matters.
A fruit holder that never holds fruit but collects bread is taking up space a proper bread box could use. Unopened food you will not eat can go to a food giveaway group instead of sitting in the pantry.
The four-box method works well here: keep, donate, trash, and relocate. Each item gets sorted once, and the decision happens fast enough to finish in an afternoon instead of stalling out halfway through.
2. Keep Items Near Where They Are Used
Keep Items Near Where They Are Used
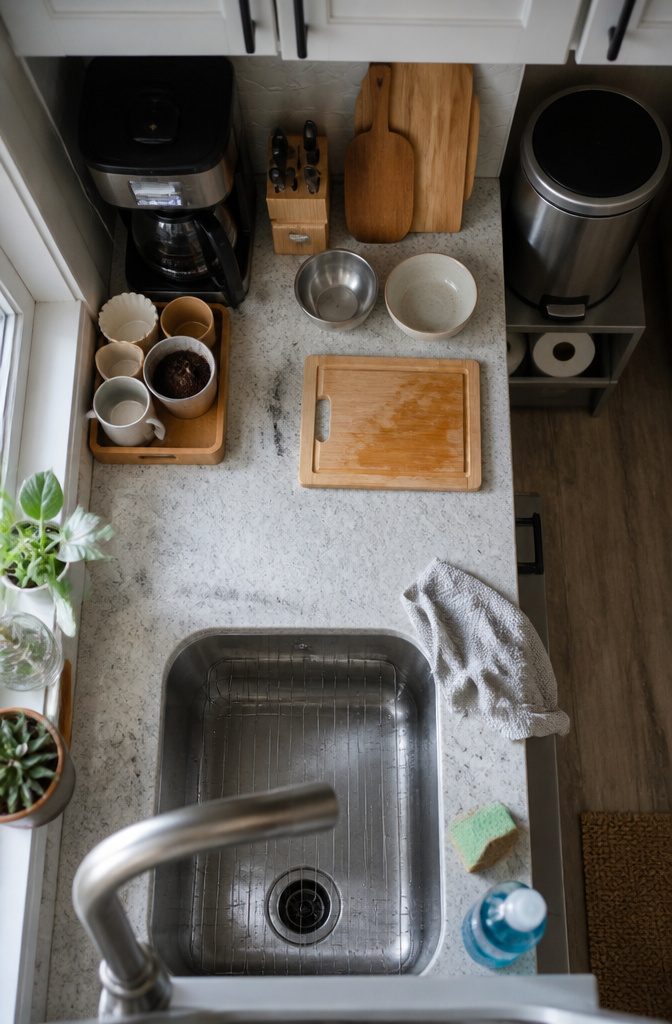
The simplest way to keep counters clear and cut down on wasted motion is to store supplies within arm’s reach of the task they serve.
Coffee mugs, filters, and grounds belong together near the coffeemaker. Cutting boards, knives, and prep bowls live closest to the counter space where you chop.
Dish soap, sponges, and towels sit near the sink. Trash bags go under or beside the trash can.
This setup means you complete each task without crossing the kitchen three times, and nothing piles up on the counter between uses because it already has a home close by.
If one item genuinely belongs in two places, buy a second one rather than walking back and forth.
A second pair of kitchen shears or a second roll of paper towels costs less than the frustration of hunting for the one you know you own.
3. Use Vertical and Overlooked Space
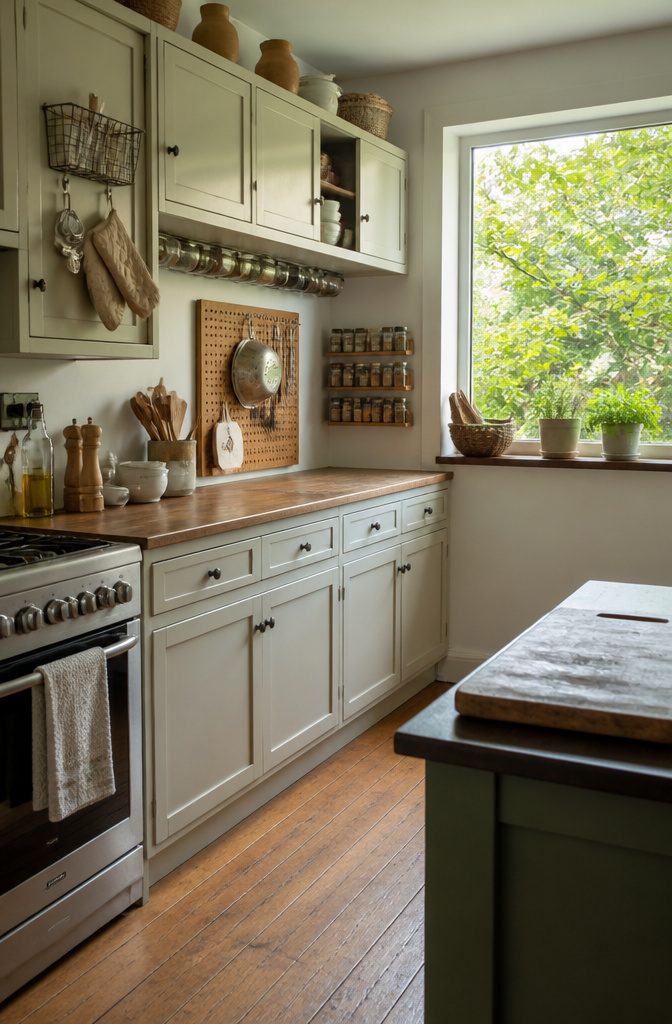
The back of every cabinet door, the gap between cabinets and ceiling, the underside of upper cabinets, even a windowsill wide enough to hold a small basket—each surface doubles storage if you put the right things on it.
I assign them by how often I need what’s stored: backs of cabinet doors take lids, foil rolls, measuring spoons, and oven mitts with adhesive hooks or small wire baskets, all reachable without opening a second door.
Wall space near prep counters holds magnetic knife strips, pegboards for pots and colanders, or narrow shelves for spices and jars.
The ceiling works for pot racks when headroom allows. Cabinet tops store bulky items used less often, which keeps everyday cabinets clearer.
Underneath upper cabinets, magnetic strips hold mason jar lids; screw the rings to dry goods and twist the jars up into place. Windowsills take potted herbs or decorative bins if the sill runs deep.
4. Use Pegboards, Rails, Hooks, or Magnetic Strips
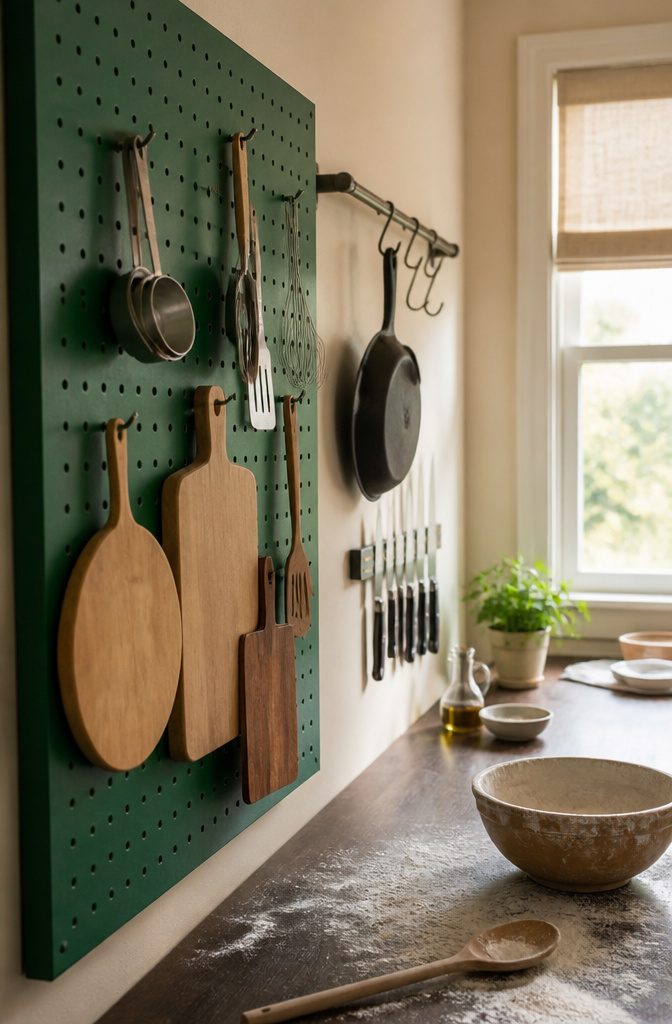
Hang utensils, pots, pans, and knives where you reach for them most, and drawers stay clear for other storage.
Pegboards work best for items you swap out often — cutting boards, spatulas, measuring cups, whisks — because the pegs move and the layout changes as your cooking does.
Paint the board if the utility look feels cold; one kitchen used Behr Fairy Queen, an emerald green that turned the pegboard into a feature rather than filler.
Rails with S-hooks suit heavier gear like cast iron or large pans, and magnetic strips hold knives more securely than a drawer insert.
Mount the strip above the prep counter so blades stay within arm’s reach. Adhesive hooks on cabinet interiors store pot lids or measuring spoons without drilling, though they fail under weight.
Tension rods inside cabinets let you hang mugs or small pans from the rod, which uses the cabinet’s full height instead of stacking everything on one shelf.
5. Add Shelves, Risers, or Shelf Dividers
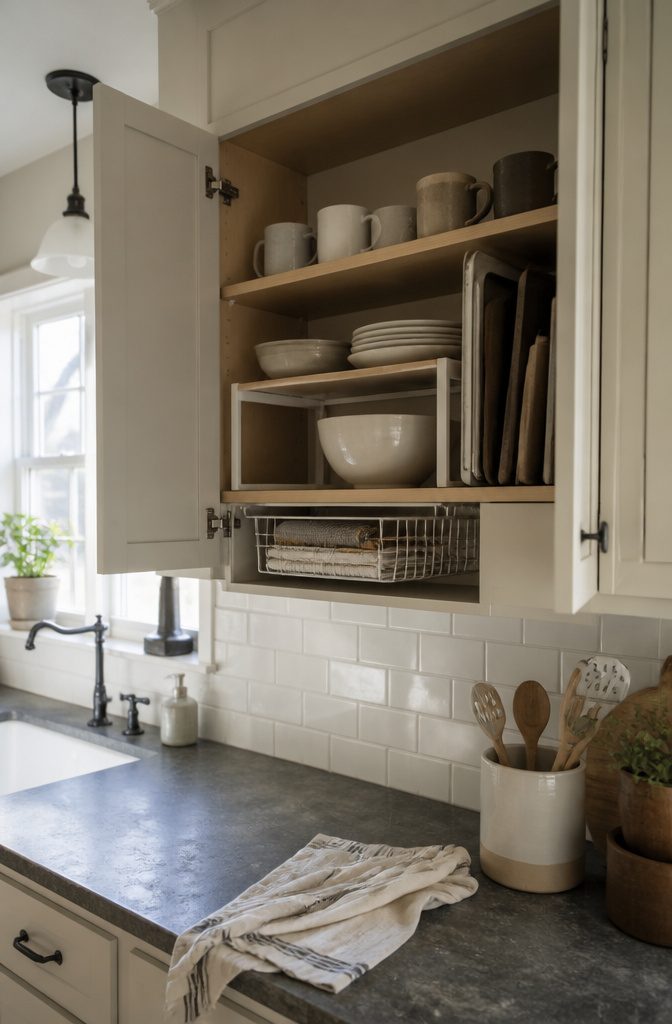
Adding another level inside a cabinet is the fastest way to stop stacking plates so high you need both hands to pull one out.
Shelf inserts like the IKEA VARIERA can double or triple the vertical space in a standard upper cabinet, turning a single tall zone into two or three shorter ones where cups, bowls, and small plates sit visible and within easy reach.
Stack two inserts if the cabinet height allows it.
Risers work the same way but sit under the shelf rather than clipping onto it. An under-shelf wire rack hangs from the existing shelf and creates a second tier below for dish towels, spices, or small plates.
I reach for these when the cabinet is shallow or when I need to add storage without removing what’s already there.
Shelf dividers are different.
They keep things separated rather than stacked. A vertical divider stops pot lids from sliding into a pile or keeps baking sheets upright instead of flat.
The win is not having to dig through six pans to find the one you need, and the noise level drops when you’re not lifting a whole stack to reach the bottom.
6. Use Drawer Dividers and Organizers

Drawers turn into junk piles fast when everything lands in one shared space.
Dividers give each category its own slot — forks stay with forks, measuring spoons in one compartment, sandwich bags in another — so you can pull what you need without digging past everything else.
I use the STÖDJA Utensil Tray from Ikea for flatware and cooking tools; it drops into most standard drawers and the sections are wide enough that a whisk or spatula does not wedge itself sideways.
For boxes of foil, plastic wrap, and storage bags, a simple divider keeps them from sliding around and tearing each other open.
Lifewit’s clear acrylic organizers work well here because you can see what is inside each compartment without pulling the drawer all the way out.
The real win is speed: no more rummaging through a tangled pile to find the one tool you actually need.
7. Use Baskets, Bins, and Containers to Group Items

Grouping things by category in baskets or bins turns a cabinet from a jumble into something you can actually work with.
The difference shows up the moment you open the door and can see what’s there instead of digging for it.
I use bins under the sink for cleaning supplies, in cabinets for baking ingredients, and in the pantry to separate snacks from canned goods.
The OXO Good Grips Baking Set gives you 5 containers that keep flour and sugar contained and visible. For bulkier items like potatoes or onions, the mDesign Stackable Kitchen Storage Bin handles produce without wasting vertical space.
Clear containers help you spot what’s running low before you run out. Labels make sense if more than one person uses the kitchen, but even without them, a clear bin beats a loose pile.
Baskets on high shelves work best for lightweight extras you grab occasionally, not heavy items you’ll struggle to lift down safely.
8. Make Pantry Storage Visible and Accessible

Make Pantry Storage Visible and Accessible
The reason forgotten food costs money is simple: you can’t use what you can’t see. Pull-out drawers, slide-out storage, or removable baskets solve that problem by bringing the back of the shelf forward.
I’ve seen clients remodel tight kitchens and squeeze narrow pull-out pantry drawer cabinets on either side of the fridge, which is a smart move when you measure carefully and have even a few inches to work with.
Everything stays in view when you can pull the whole drawer out, so nothing expires behind a stack of cans.
Baskets do the same job in deeper cabinets. You can pull a whole basket off the top shelf to see what’s inside instead of reaching blindly, and grouping similar items together makes it faster to know what you already have.
The same principle applies to the fridge: keeping everything visible cuts down on duplicates and waste, because nothing hides in the back waiting to spoil.
9. Use a Lazy Susan or Turntable

A two-tiered Lazy Susan turns awkward cabinet corners and deep pantry shelves into usable storage by spinning everything to the front instead of forcing you to reach past three bottles you don’t need.
I use smaller ones for spices and baking supplies where food coloring, vanilla, and salt tend to migrate to the back and disappear.
A larger model works in the cabinet that holds mixing bowls or measuring cups, especially if the cabinet sits in a corner where one side stays out of reach.
The tiered version holds more than a flat disc and keeps shorter jars visible on the lower level while taller bottles sit on top.
Deep cabinets are where this setup pays off most. The space looks generous until you store anything in it, and then half the cabinet becomes a black hole.
A Lazy Susan solves that by making depth irrelevant. You spin, you grab, you move on.
10. Use a Cart, Island, or Other Freestanding Furniture for Extra Storage

A movable cart or small island can hold food, appliances, and prep tools without locking you into a fixed layout.
It makes sense when you are renting, when the kitchen changes use over time, or when you need storage in one spot this year and somewhere else next year.
Fixed cabinetry commits the space; a cart on wheels moves to where the work is.
A microwave cart keeps the microwave off the counter and gives you room below for a blender, stand mixer, or anything else you use less than weekly.
A bar cart works as a coffee station when cabinet space runs out, and the wheels let you roll it aside when you need the floor.
A simple three-tier cart can replace a pantry in a kitchen that has none, holding dry goods and canned items that would otherwise pile up on the counter.
Choose a piece narrow enough to roll through the tightest passage in the kitchen but wide enough that plates and mugs stay stable when you move it.
11. Create a Coffee or Tea Station
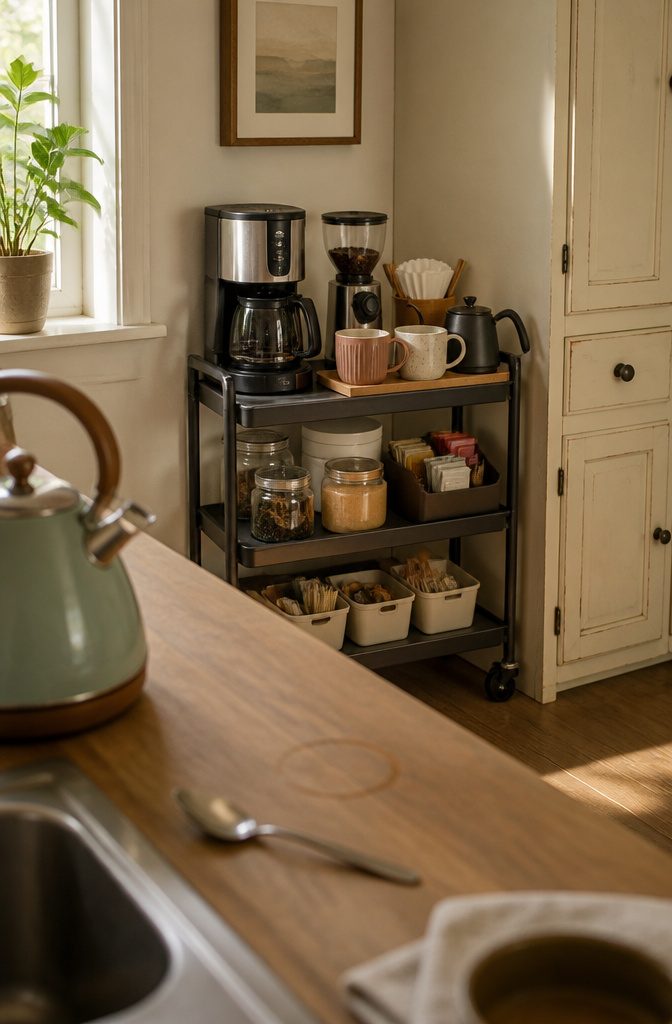
Grouping coffee and tea supplies in one dedicated spot—a drawer, a shelf, a cart, or a corner of counter—keeps the morning routine faster and frees up space elsewhere.
I pull mugs, filters, loose tea, sugar, and the grinder into arm’s reach of the maker itself, so nothing sends me across the room mid-brew.
A drawer works well if cabinet space is tight: drop in small bins to corral tea bags, packets, and accessories so the drawer opens to a grid instead of a pile.
A rolling cart is the better choice when counter real estate is already spoken for, because it moves out of the way and holds the maker, supplies, and mugs on open shelves where they stay visible.
If the kitchen allows it, a narrow wall shelf or cube unit turns the setup into something you can personalize with canisters, a mug rail, or color that pulls the whole assembly together.
12. Use Open Display for Selected Items
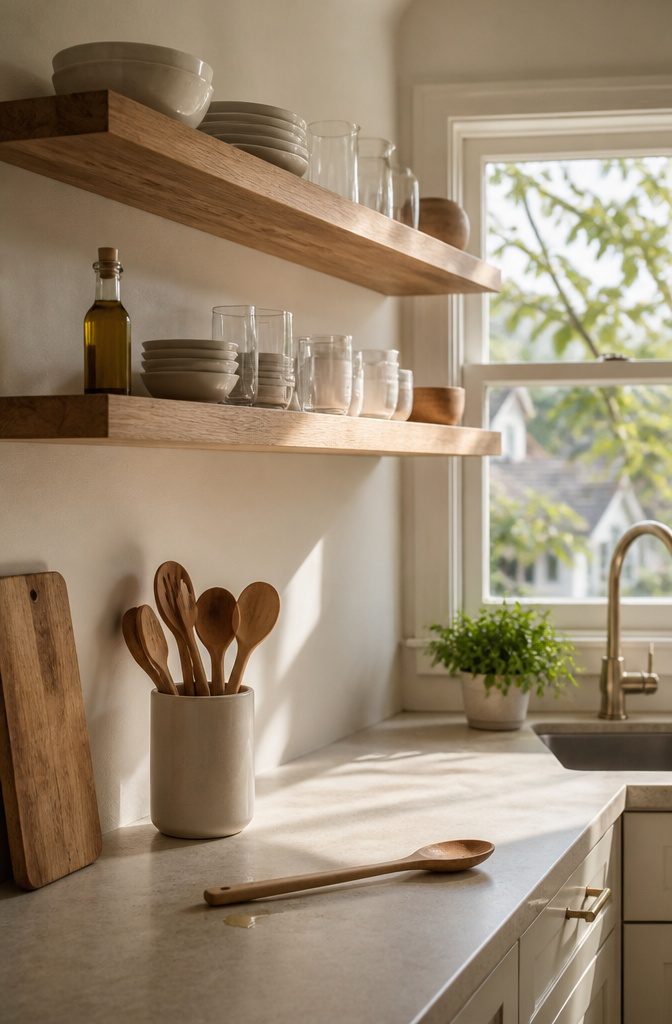
Open shelving keeps your most-used or good-looking pieces within reach.
Three-foot-long floating shelves work well in a small kitchen because they add storage without eating floor space or blocking sight lines. The question is which items earn the spot and which stay behind closed doors.
I put things on display that I grab multiple times a day: a set of white bowls I use for everything, the olive oil, a crock of wooden spoons.
If it moves in and out of a cabinet three times before lunch, it belongs on a shelf.
Appliances that match each other visually can sit out without adding clutter, especially when cabinet space is already tight. A toaster, a blender, and a coffee maker in stainless or matte black read as intentional rather than chaotic.
Dishes and glassware that fit your color scheme also work on open shelves, particularly if the pieces are uniform or at least coordinated. Mismatched mugs and chipped plates should stay hidden.
The same goes for anything you rarely touch or anything that collects grease. A stand mixer you use weekly can live on a shelf; a waffle iron you pull out twice a year belongs in a cabinet or basket.
Fit the Arrangement to the Household’s Habits and Needs
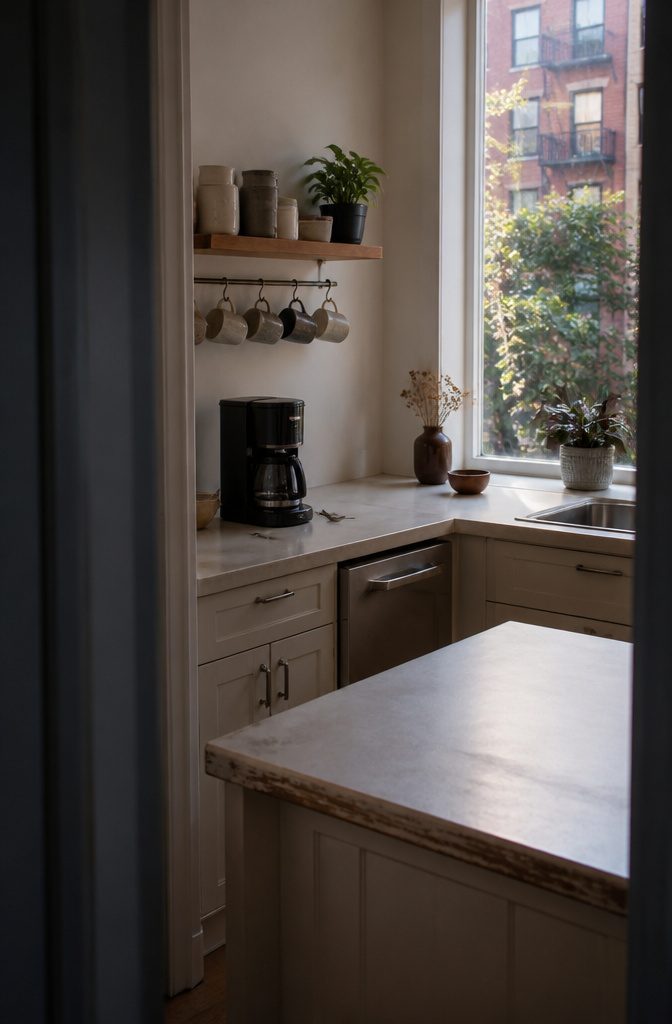
The decision to store spices in a drawer next to the stove or give counter space to a coffee station instead of a dish rack comes down to which tasks actually happen in the room.
The kitchen should support the habits that already exist, not the ones that sound aspirational.
Someone who microwaves most meals does not need elaborate pot storage near the stovetop, and someone who rarely bakes can keep a single muffin tin rather than a collection.
I look at what gets used daily and build storage around that.
A kitchen where coffee matters more than anything else can dedicate a floating shelf or cube unit to a mini coffee station, complete with a rail for mugs and open shelves for tea and ingredients.
A wine collector can fit a hollow wine cabinet under the countertop without taking up floor space elsewhere. Space is tight: saying yes to one thing means saying no to another.
Keep Storage Orderly and Contents Findable

Group items by type and assign each a fixed spot so you know where things live and can find them without pulling out three other boxes first.
When baking supplies sit together in one basket or bin, spices share a drawer, and grains stay in their own zone, the system holds.
I go back to this whenever a small kitchen starts sliding into chaos, because it’s the simplest move that actually sticks.
Clear containers let you see what’s inside at a glance and cut down on overbuying flour you already have.
Square stackable ones use shelf space better than round, and labeling everything with either chalkboard tags or preprinted stickers keeps track of contents and expiration dates without opening six jars.
I’ve stopped keeping dry goods in their original bags entirely. The containers look cleaner, keep food fresher, and make it obvious when something needs restocking.
Pull-out drawers or roll-out pantry shelves solve the problem of items stacked behind each other where you can’t reach them. You pull the whole cabinet forward and choose what you need without knocking anything over.
Custom dividers in utensil drawers separate forks, knives, spoons, and measuring tools into their own compartments so you’re not rummaging every time you need a whisk.
Frequently Asked Questions
What is the best kitchen layout for a small kitchen?
The best layout keeps items near where you use them and moves everything you don’t need out of the way.
Place coffee supplies beside the maker, cutting boards and knives at the prep counter, and dish soap near the sink so each task completes without crossing the room.
Clear the center, use wall space and cabinet sides for storage, and keep the space above cabinets for items you grab less often.
What are some clever storage ideas for a small kitchen?
Use the back of cabinet doors for lids and measuring spoons with adhesive hooks, mount pegboards or magnetic strips on walls to hang pots and knives, and add shelf risers inside cabinets to double the vertical space.
A Lazy Susan turns deep corner cabinets into reachable storage, and a rolling cart adds shelves without taking permanent floor space.
What are common mistakes to avoid in a small kitchen?
The biggest mistake is keeping things you don’t actually use, which fills cabinets and drawers with clutter before you organize anything.
Storing items far from where you need them wastes motion and leaves counters piled with supplies between tasks. Stacking plates too high or leaving the back of shelves unreachable makes half your storage unusable.
How do I organize my new kitchen?
Start by clearing out what you don’t use, then assign each remaining item a spot near the task it serves.
Add drawer dividers to separate utensils, bins to group pantry items by category, and shelf risers to stop wasting vertical space in cabinets.
Label containers so everyone in the household knows where things live, and fit the arrangement to your actual cooking habits rather than aspirational ones.