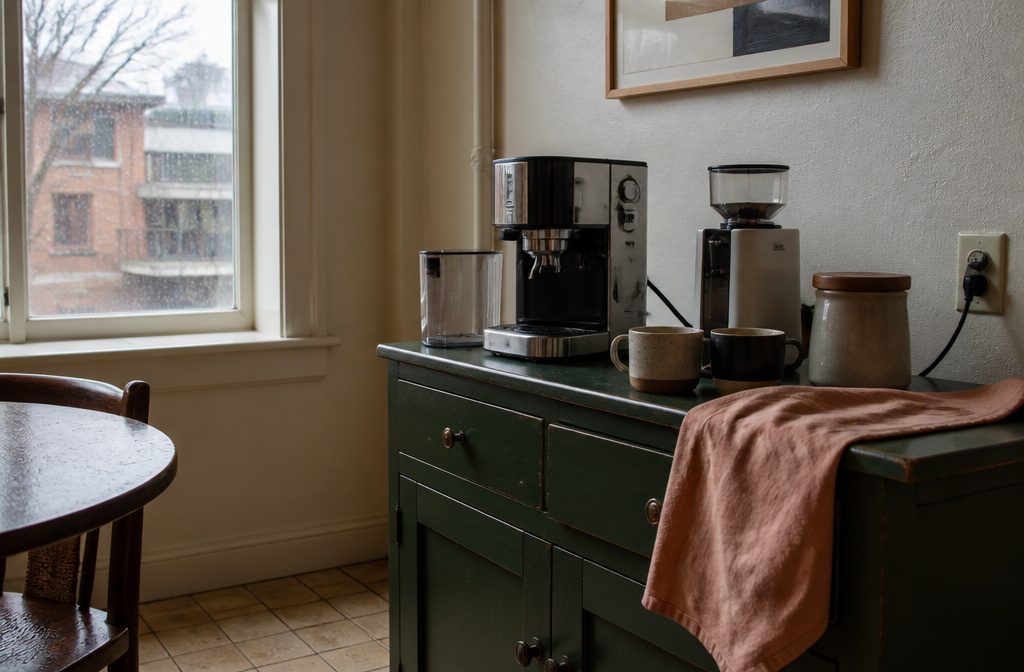
A home coffee bar takes a surface or piece of furniture, a coffee maker, storage for beans and mugs, and an outlet within cord length.
Most people commit to a spot before measuring whether the machine fits with its water tank removed, then find out the espresso maker is too tall or the grinder needs clearance they don’t have.
1. Choose a Location and Check Whether It Works

Pick a spot that puts the coffee maker near an outlet and keeps morning paths clear. The kitchen counter or a corner nook is the fastest choice for weekday coffee, because the outlet and water are already close.
A dining-room sideboard works better if you host often or want the coffee station to double as a serving buffet after meals.
Living-room furniture—a bar cabinet or tall cabinet—makes sense when you spend more time there than in the kitchen, though you will need to hide cords and keep visual clutter down.
For a small apartment, start with a bar cart, console table, or narrow cabinet you already own before adding new furniture.
A pantry or home-office corner keeps the station out of sight and frees up kitchen counter space, but check that there is enough light and that appliance doors can swing open without hitting walls.
Check three things before committing: outlet location, how far you will carry water for refills, and whether the station will block a path you use ten times a day.
A temporary setup on a side table works fine for hosting if you do not have room year-round.
2. Choose the Surface or Furniture

The first decision is what piece you turn into a coffee bar.
If counter space is available, use it. If it’s not, you need furniture.
A sideboard, cabinet, table, or cart all work. So does a desk, a hutch, or a piece someone else threw out, refinished, and made yours.
The weight of your equipment decides some of this. A light rolling cart looks clean and moves easily, but if you’re setting down a heavy espresso machine and grinder, you want something more stable.
You can pretty much turn any type of furniture, for the most part, into a coffee bar. A small dresser, where you use the drawers for coffee and pod storage. A small little buffet. Something that you have in your entryway with drawers and a door.
That’s the right way to think about it: match the furniture to what you need to store and how much surface the machine takes up.
For a dining room setup, the Jaidon Sideboard gives you a wide surface for a single-serve brewer or larger espresso machine, storage behind mirrored doors, and adjustable shelves for mugs and syrups.
In a smaller space, the Dumas 2-Door Accent Cabinet with two USB power ports keeps the footprint compact while still holding supplies inside and leaving an open shelf below for extra mugs or decor.
If you want something lighter, the Cerqueira Writing Desk with built-in USB port offers enough room for a machine and a few bottles without crowding a small room.
Or skip buying anything new and use a tabletop you already have — a desk corner, an entry table, or an old dresser pulled in from another room.
3. Plan Storage and Working Space

Storage decisions come down to two parts: what stays in sight and what doesn’t. Keep mugs, canisters, and the coffee machine itself where you can reach them without opening anything.
Shelves, hooks under those shelves, and the surface itself handle that layer. Everything else — filters, backup supplies, sugar packets, tea you don’t drink often — belongs in drawers or cabinets where it won’t clutter the counter.
If you’re building wall shelves from scratch, 2x4s cut to length and stained or left raw give you shallow storage that doesn’t stick out far enough to crowd the room.
That width works for coffee bags, small canisters, and a row of mugs hung below on hooks.
Before you settle on a cabinet or hutch, check the height of your coffee machine with the water tank in place.
Some espresso machines need clearance above for the tank, hopper, or warming tray, and a tight fit means you pull the whole machine forward every time you refill.
4. Choose the Coffee Equipment and Supplies
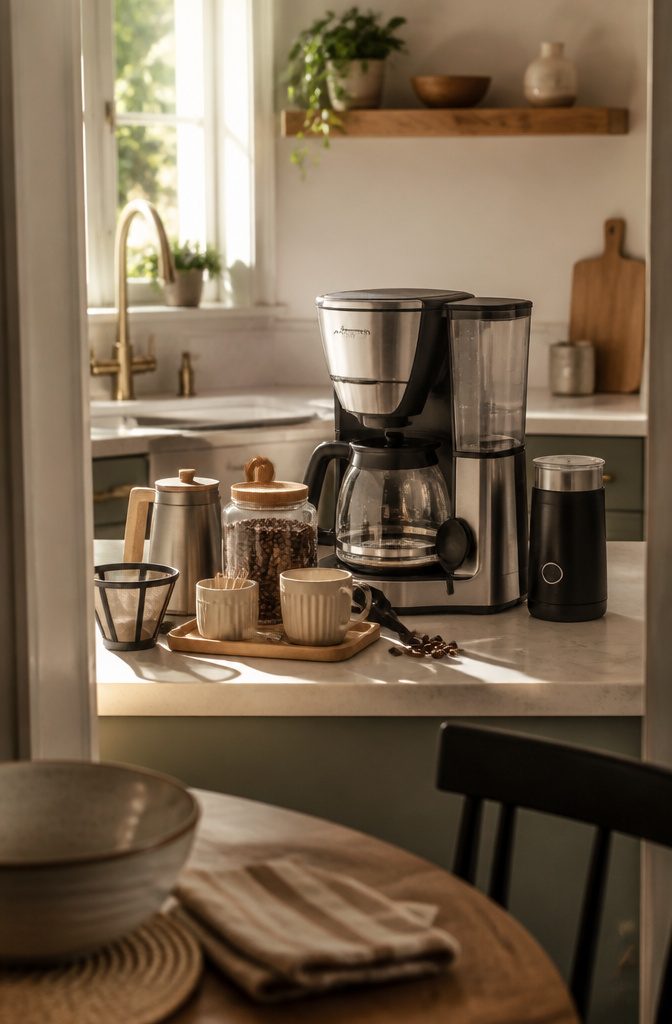
The coffee maker decides what drinks you can pour, so start there.
An espresso machine handles espresso and milk drinks, a single-serve brewer like Bruvi covers coffee and cold brew in one footprint, and a drip system like the Ninja Coffee Bar System brews by the cup or carafe.
Bruvi runs on B-Pods and adds a hot water button, which works if tea shows up in your routine.
The Ninja system includes a built-in Smart Scoop attached to the side, a glass carafe that brews half or full, a removable water reservoir you fill at the sink, and a milk frother that handles hot or cold milk and flavored creamers.
Past the brewer, gather what the drinks actually need: beans or pods, filters if the machine takes them, mugs and stirrers, milk or creamer, sugar and syrups.
A reusable coffee filter cuts waste if the system allows it. If the bar sits far from the fridge, an insulated pitcher keeps milk cold without a trip.
A small sink and mini refrigerator are options when the setup lives away from the kitchen, though most stations skip both and stay simple.
5. Arrange and Style the Station

Start with what needs to stay on the surface every day and let everything else move into a drawer or cabinet.
The coffee machine, grinder, beans or pods, two to four everyday mugs, and a small group of sweeteners or spoons earn their place.
Extra mugs, seasonal cups, unopened bags, and backup filters do not. One test helps: make coffee on a normal weekday morning, and anything you never touch can go into hidden storage.
A tray defines the coffee zone and keeps smaller items from migrating.
Wood, marble, or metal work depending on the room. Glass or acrylic canisters hold beans or sugar without adding visual weight.
Neutral ceramic canisters keep the look calm, and wicker baskets bring texture. I favor matching finishes over a mix of one-off containers, since the coherence makes a small station feel more intentional.
Décor should suit the room rather than announce itself. A small lamp, framed art, or plant adds warmth without crowding the workspace.
Cutting boards or marble slabs can double as decorative props. For seasonal changes, swap in themed mugs or syrup flavors rather than adding signs or too many accents.
A chalkboard or rustic wood backsplash can work in the right setting, but most setups look better with one focal point than three competing ones.
6. Check Usability and Adjust
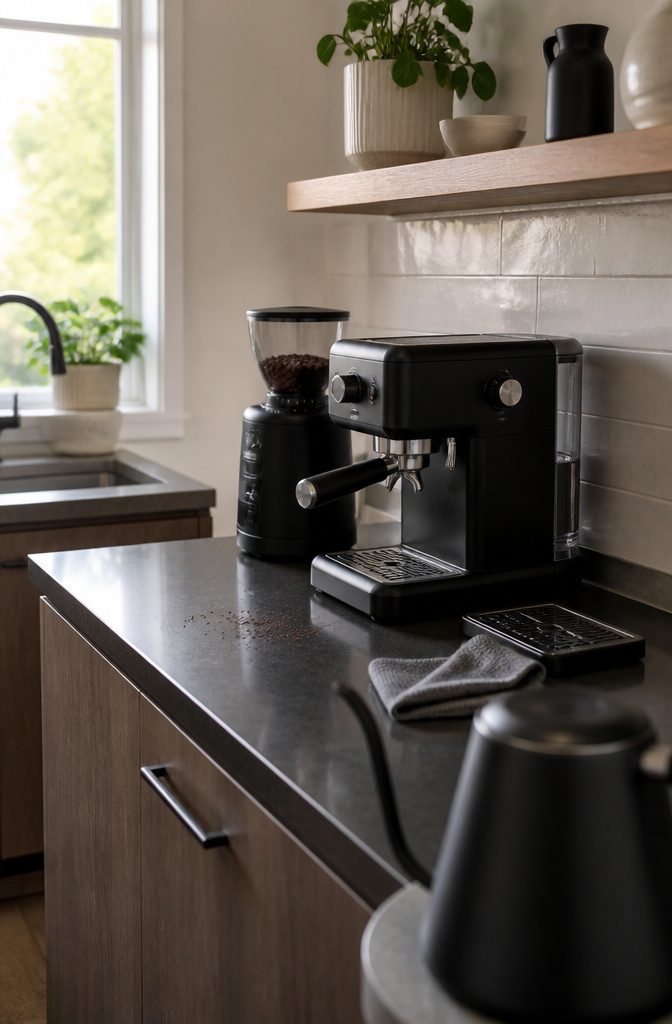
Once the station is built, test it during an actual weekday morning before you call it finished. Make coffee the way you normally would, at the pace you normally would, and notice where the setup gets in your way.
If you have to lean around the machine to reach the grinder, or if a cabinet door swings into your elbow while the portafilter is in your hand, move one or the other.
Cords that cross the work surface or drape where you pour are a spill waiting to happen, and a machine that rocks when you lock the portafilter in means the surface underneath is too light or too narrow.
The other test is cleanup. If you have to move three things just to wipe down the drip tray, or if refilling the water tank means clearing the counter, the layout is fighting you.
I move anything I do not use daily into a cabinet or onto a different shelf. What stays on the counter is what earns its space by getting used most mornings.
Water and Electrical Planning

Check outlet access and water refilling distance before you settle on a location.
A coffee maker needs power, and if the nearest outlet sits four feet away across open wall, you are stuck with visible cords or an extension strip you trip over every morning.
Measure the machine’s cord length first, then look at where the plug can actually reach without crossing a walkway or dangling where it shows.
Water access matters almost as much. If you refill the tank daily, a spot ten steps from the sink gets old fast.
A bar sink with an instant filtered hot-water faucet solves both problems at once, but that means plumbing work and a commitment to the location.
I would only go that route if the coffee bar is staying put for years and you already planned to add a wet bar or prep sink in that room.
For most setups, close enough to the sink for a quick walk with the tank is sufficient, and you keep the flexibility to move the station later.
Coffee-Bean Freshness and Measurement
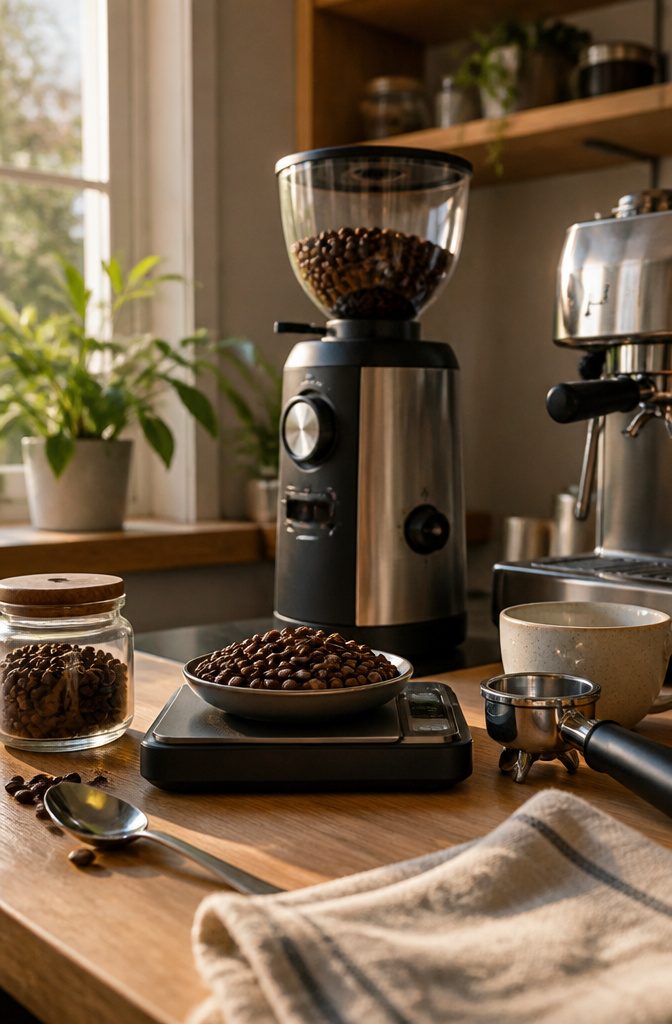
Freshly roasted whole beans ground just before brewing protect the flavor you built the station for.
Pre-ground coffee oxidizes quickly, so the clarity and brightness you taste in the first hour fade over the next few days. I grind only what I need each time, which means the grinder earns its counter space.
An electric kitchen scale takes the guesswork out of dosing. Weight gives you repeatable results in a way scoops never will, because beans vary in size and density from roast to roast.
I dose to the tenth of a gram when I want the shot to come out the same way twice.
For milk drinks, about 4 ounces of warm milk frothed for 30 seconds gives you the texture and volume most lattes and cappuccinos need.
That timing applies to a steam wand or a handheld frother, though the wand will give you finer microfoam if you angle it correctly.
Serving Guests

If guests will help themselves to coffee, a few small touches keep the station usable without you narrating every step.
I find it easiest to think through the sequence someone follows when they pour a cup, then place what they need in that order.
Keep napkins and stirrers in open containers so people can grab them one-handed, and place a small trash receptacle at the side or below the bar so used packets and stirrers have somewhere to go without piling up on the counter.
A lidded canister works even better for hosting if you’d rather not see the trash itself.
Set out what makes coffee worth lingering over:
- A cream pitcher and sugar bowl, ideally on a tray or shallow dish to contain any drips
- Small plates if you’re offering cookies or biscotti
- Mugs staged with a cloth napkin and spoon tucked inside, so each guest has what they need without asking
The self-serve setup matters most when you’re hosting and want people to move through without waiting on you for every refill.
Mistakes and Practical Checks
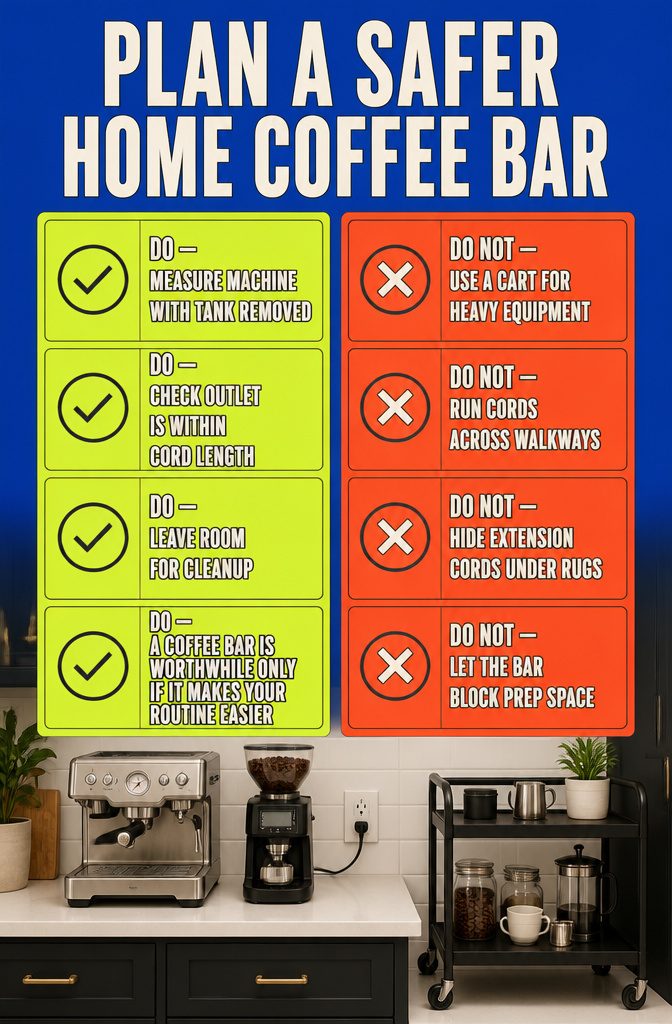
Most mistakes happen before you measure the machine. People buy a cart or a cabinet they like, then find out the espresso maker is too tall, the grinder needs clearance behind it, or the whole setup blocks an outlet.
Before you commit to furniture or a location:
- Measure the machine with the water tank removed. Tanks pull out the back or top, and forgetting that clearance is the fastest way to end up with a setup you cannot refill without moving everything.
- Check whether the outlet is within cord length. Cords that cross a walkway are a trip hazard, and running an extension under rugs or around doorways creates clutter the bar was supposed to eliminate.
- Skip the bar cart for heavy daily equipment. Carts work for lightweight accessories, but a full grinder and espresso machine on a wheeled base tip easily and feel unstable every time you tamp.
- Leave room for cleanup. If styling the station heavily means you cannot wipe down the counter or refill beans without moving six things, the bar becomes harder to use than a simple tray on the counter.
A coffee bar is worthwhile only if it makes your routine easier. If it blocks prep space or creates more clutter than it solves, a countertop setup serves you better.
Beverage-Station Alternatives

One coffee station can hold more than coffee. The setup that makes room for a brewer, mugs, and sugar works just as well for tea, hot cocoa, sparkling water, or even wine.
I’ve seen bar cabinets stocked half with coffee pods and half with tea canisters, and the closed doors let you hide backup supplies without the counter looking like a busy café.
A station with a hot-water button on the brewer handles tea and cocoa without adding equipment.
This flexibility matters most when you entertain. Guests help themselves to cold brew, espresso, or the tea they prefer, and the host stays out of the kitchen.
I also like the idea of switching a coffee station seasonally—turning it into a hot cocoa bar for the holidays, then back to coffee in January.
A bar cabinet in the living room or dining room gives you that option, because it already looks like furniture instead of appliances.
Frequently Asked Questions
Should I choose a built-in coffee bar or freestanding furniture?
Choose built-in if you’re already remodeling a kitchen, pantry, or wet bar. Freestanding furniture like a sideboard, cabinet, or cart gives you flexibility without touching walls, plumbing, or cabinetry, and you can move or update it later without construction.
Does a coffee station need a sink?
No. A bar sink with filtered hot water makes refilling and rinsing easier, but most setups work fine near the kitchen without one.
Adding plumbing only makes sense if the coffee bar is permanent and you already planned a wet bar or prep sink in that room.
How do I make a small coffee station look more expensive?
Keep the display simple with matching mugs, coordinated canisters, and closed storage that hides backup supplies. A tray defines the workspace, and sticking to one finish instead of mixing containers makes the setup feel intentional rather than cluttered.
How can I protect furniture from coffee spills and heat?
Place a tray, waterproof mat, or heat-resistant board under the machine and mugs. Wipe spills quickly, especially near seams or wood edges, and keep syrups and wet tools in containers instead of setting them directly on the surface.
When is a coffee bar at home not worth adding?
When it blocks prep space, duplicates kitchen storage, or creates problems with cords, cleaning, clutter, or traffic flow.
A coffee bar only makes sense if it simplifies your routine rather than adding obstacles to your morning or taking up space you need for something else.